Why a Checklist Changes Everything
Dental tourism to Colombia is one of the most effective ways to access world-class cosmetic dentistry at a fraction of what it costs in the US, UK, Canada, or Australia. Veneers that run $1,500–2,500 per tooth at home can cost $350–600 in Medellín — for the same materials, same process, and often the same or better training. But the savings only matter if the trip goes smoothly. A poorly planned dental trip — wrong clinic, no documentation, a surprise complication at home — can turn a financial win into a costly disaster. This checklist covers every stage: from your first Google search to your six-week follow-up at home.
Section 1: Before You Book
This is the most important phase. Rushing the booking decision is the single biggest mistake dental tourists make. Take your time here.
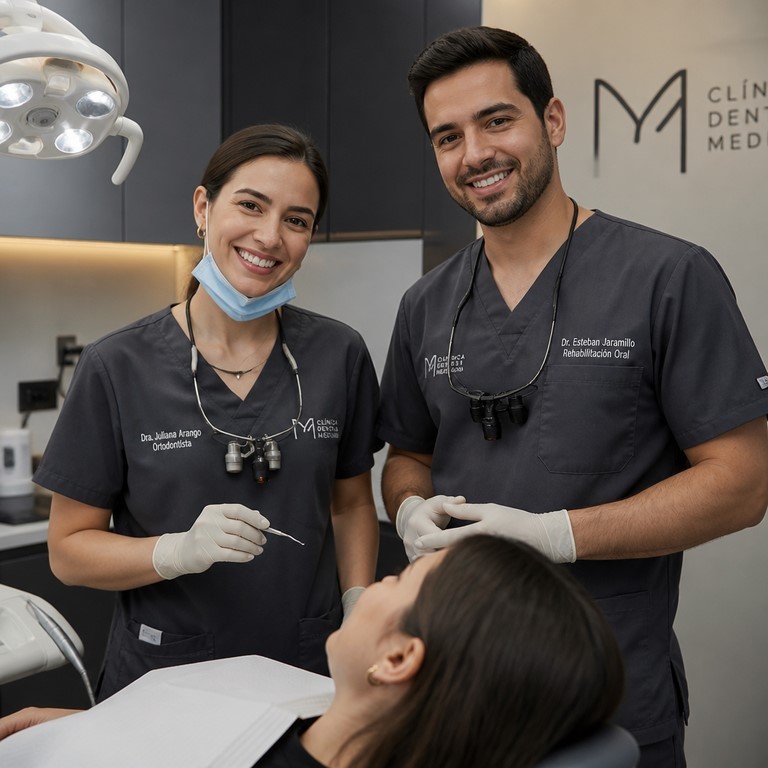
Hear directly from international patients who traveled to Medellín for their porcelain veneers with Dr. Yazmín Escudero — in their own words.
"I looked up the best dental clinic in all of Colombia — and Dr. Yazmín was at the top of the list."
Washington, DC · USA
In the US, 20 porcelain veneers can cost $30,000–$50,000.
In Colombia, you get the same E‑Max quality — for a fraction of the price.
These videos reflect the personal experiences of individual patients. Results, treatment timelines, and comfort levels vary from person to person and depend on each patient's clinical condition. Testimonials are not a guarantee of any specific outcome. A full clinical evaluation is required before any treatment.
1. Research clinic credentials beyond the website
Every dental clinic in Colombia has a professional-looking website with before-and-after photos. That’s not sufficient due diligence. Look for the clinic’s registration with Colombia’s Secretaría de Salud (Health Ministry), the dentist’s specialty credentials, and whether the clinic has been operating for at least several years. Ask for the dentist’s full name and verify their credentials directly.
2. Read reviews on multiple platforms — not just Google
Google reviews are easily manipulated. For a more honest picture, search Facebook groups specifically for dental tourism (search “dental tourism Colombia” or “dental tourism Medellín” — active communities exist with thousands of members), the Reddit community r/DentalTourism, and Trustpilot if the clinic appears there. Pay special attention to how the clinic responds to negative reviews. A defensive or dismissive response is a red flag. A constructive, specific response suggests a clinic that takes feedback seriously.
3. Request a virtual consultation before committing
Any reputable clinic will offer a video consultation — free of charge. This lets you assess the dentist’s communication style, confirm they understand your goals, and ask all your questions before booking flights. If a clinic won’t do a virtual consult, don’t book. During the consult, share any existing X-rays or photos so the dentist can give you a realistic assessment rather than a generic quote.
4. Ask specifically about materials used
Not all veneers are equal. Ask about the specific brand and type of porcelain or composite used — E.max, Vita, or Ivoclar brands are internationally recognized standards. Ask whether the veneers are pressed or milled (CAD/CAM). The material choice directly affects translucency, longevity, and aesthetics. A dentist who can’t name the material or gets evasive about this question is worth avoiding.
5. Get a written quote that itemizes every procedure
A quote that says “8 veneers: $X” is not enough. Request a line-by-line breakdown that includes consultation fee, X-rays, any extractions or preparatory work, temporary veneers, final veneers per tooth, follow-up appointments, and any adjustments. This prevents surprise charges and makes it easy to compare quotes between clinics accurately.
6. Ask about the warranty policy in writing
Most quality clinics offer warranties on their work — typically 1 to 5 years on veneers. Before you book, ask: What does the warranty cover? What voids it? Does it require you to return to Medellín, or can it be handled with a local dentist? Is there a process for remote warranty claims? Get this in writing (email is fine) before you pay any deposit.
7. Confirm whether the lab is in-house or external
An in-house lab means your veneers are fabricated on-site by a technician who works directly with your dentist. This typically means faster turnaround (3 days vs. 5–7 days), better communication between dentist and technician, and faster adjustments if something doesn’t fit perfectly. Ask directly: “Do you have an in-house lab, or do you send work to an external laboratory?” The answer affects your travel schedule significantly.
8. Review the dentist’s before-and-after portfolio critically
Look at the portfolio with a critical eye. Are the smiles shown genuinely diverse in teeth shape and starting condition, or do they all look like easy, obvious transformations? Do the results look natural, or do the veneers look uniformly white and artificial? Can the clinic connect you with a past patient for a reference? A portfolio of 50 similar-looking cases is less reassuring than 20 cases with clear documentation of different starting conditions and outcomes.
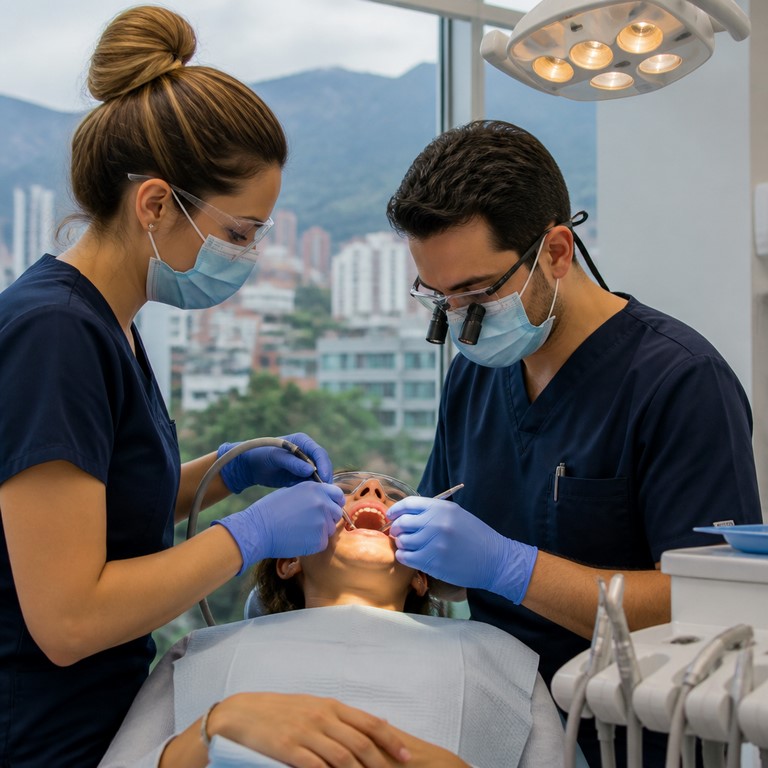
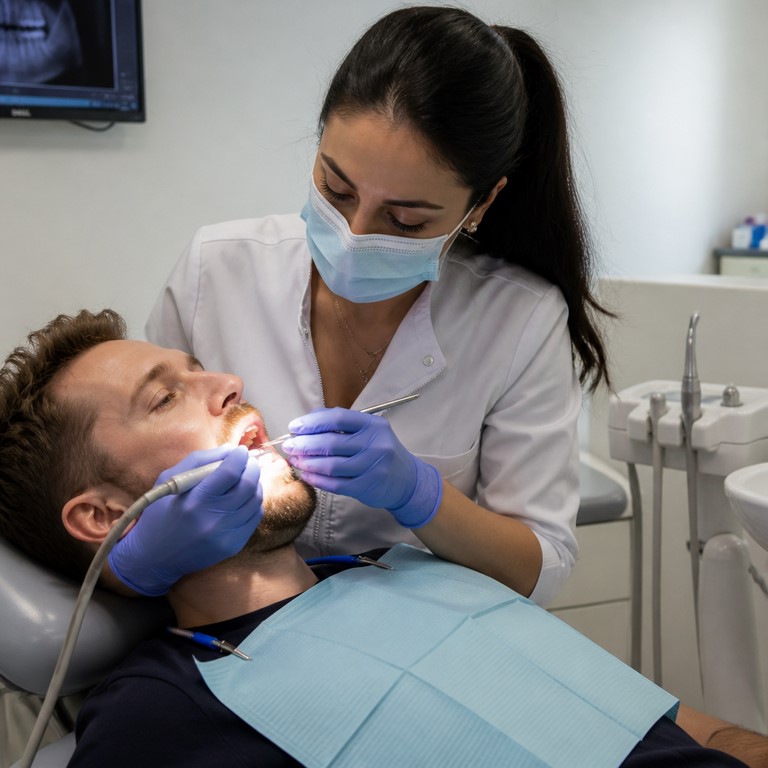
Section 2: Medical Preparation
You can’t get veneers over unhealthy teeth. These steps ensure your mouth is in the right condition before you fly — and protect your investment afterward.
9. Get a full dental X-ray at home
Have a full-mouth series or panoramic X-ray taken at your local dentist before traveling. Bring digital copies (ask for them as a JPEG or PDF). This gives your Colombian dentist baseline information they need, saves clinic time, and ensures any hidden issues — infection, bone loss, impacted teeth — are identified before you’re 2,000 miles from home.
10. Get a professional dental cleaning 2–3 weeks before travel
A cleaning removes tartar buildup and gives your gums time to recover before treatment begins. Inflamed gums affect how veneers sit and seal — arriving with healthy gum tissue is not optional, it’s part of the prep. Three weeks gives gums time to settle after the cleaning before your procedure.
11. Ask your local doctor about blood thinners
If you take aspirin, warfarin, clopidogrel, or other blood thinners — including high-dose fish oil supplements — ask your doctor whether to pause them before dental procedures. Your Colombian dentist will ask about this, but it’s better to have the conversation at home in advance so any changes can be made safely.
12. Note any allergies to dental materials
Allergies to latex, certain adhesives, or metals used in dental work are rare but serious. If you know you have any material sensitivities, document them clearly and communicate them to the clinic in advance. This is particularly relevant for patients with known metal allergies or sensitivities to acrylics.
13. Get any active infections treated before you fly
An active abscess, infected tooth, or gum infection must be resolved before cosmetic work can proceed. Your Colombian dentist cannot place veneers over an unhealthy foundation. If you’re currently dealing with any dental infection, treat it first — even if it delays your trip by a few weeks.
14. Bring a complete list of current medications
Write out every medication you take, including dosage and frequency. Include supplements, OTC drugs, and any hormonal medications. Your dental team needs this for anesthetic dosing and to flag any drug interactions. A simple note on your phone is enough — just make sure it’s accessible.
Section 3: Travel Logistics
Dental tourism adds layers of planning that a regular vacation doesn’t require. These logistics steps protect your investment and reduce stress significantly.
15. Book flights with a flexible change policy
Dental timelines occasionally shift. If a tooth needs additional prep, the lab needs an extra day, or you need an additional adjustment appointment, your departure date may move. Book with an airline that allows free or low-cost date changes. Budget carriers with strict no-change policies are a liability for dental trips. The extra cost of a flexible fare is cheap insurance.
16. Book accommodation in El Poblado or Laureles
Both neighborhoods are safe, international-friendly, and well-served by Uber. El Poblado is closer to most dental clinics and has the most restaurants and services. Laureles has a more local feel and tends to be slightly cheaper. Avoid booking in neighborhoods you haven’t researched, even if the price is tempting. Proximity to the clinic matters — you’ll make multiple trips there on a tight schedule.
17. Get travel insurance that explicitly covers dental complications
Standard travel insurance often excludes dental work. You need a policy that covers complications arising from planned dental treatment abroad. Read the fine print carefully — specifically the “pre-planned treatment” exclusion clauses. Several specialist dental tourism insurance products exist; search specifically for “dental tourism travel insurance” rather than standard travel cover.
18. Arrange airport transfer in advance
José María Córdova International Airport (MDE) is about 45 minutes from El Poblado. Pre-arrange a transfer so you’re not negotiating with taxi drivers after a long flight. Your hotel or the clinic can often recommend a reliable service. Uber works from the airport but requires navigating the rideshare pickup area, which can be confusing on arrival.
19. Check Colombia visa requirements for your passport
Most Western passport holders (US, EU, UK, Canada, Australia) can enter Colombia visa-free for 90 days. However, requirements change — verify your specific country’s current requirements at Colombia’s official foreign ministry website or your country’s government travel portal before booking. Some nationalities do require advance visas.
20. Download Uber and Google Translate before you land
Set up your Uber account and confirm your payment method works internationally before you arrive. Add Google Translate and download the Spanish language pack for offline use — cellular data can be unreliable in some parts of the city. Having both apps ready means you can navigate confidently from the moment you land.
21. Notify your bank of your travel dates and destination
International card transactions from Colombia can trigger fraud alerts that freeze your card. Call or message your bank before you go, tell them the exact dates and that you’ll be in Colombia. Bring a backup card from a different bank as a contingency. Cash (Colombian pesos) is useful for small purchases, markets, and tipping — ATMs in El Poblado are reliable and safe.
Section 4: Packing
Your dental kit for this trip is specific. Don’t assume hotel toiletries will cover what you need.
22. Pack a soft-bristle toothbrush
Medium or firm-bristle toothbrushes can irritate freshly prepped gum tissue and scratch temporary veneers. Bring a soft toothbrush — ideally a new one — specifically for the trip. Your dentist may also provide one, but having your own is better.
23. Bring sensitive toothpaste
Sensitivity after veneer prep is common and temporary, but it’s more manageable with the right toothpaste. Sensodyne or equivalent products with potassium nitrate help. Local pharmacies (Drogas la Rebaja, Farmatodo) carry these, but having your own means one less errand after Day 1.
24. Pack prescription mouthwash if your dentist advises it
If your dentist at home or in Colombia prescribes a chlorhexidine rinse or similar, bring enough for the treatment period. Over-the-counter mouthwashes with alcohol can irritate post-procedure tissue — use only what your dentist recommends during the first few days.
25. Bring lip balm
Dental appointments involve extended periods with your mouth open. Clinic air conditioning can be drying. Your lips will thank you. This sounds minor but it’s a genuine comfort item during multi-hour appointments.
26. Pack comfortable, loose clothing for chair time
You’ll spend several hours in a dental chair. Avoid tight collars or anything that restricts your neck. Comfortable layers are ideal — dental clinics in Medellín tend to be air-conditioned to cool temperatures.
27. Prepare soft-food snacks for Day 1
After your prep appointment, you won’t want to search for appropriate food. Pack a few safe snacks in your bag: individually packaged applesauce, a ripe banana, soft crackers, or a protein shake. Having something immediately available when you leave the clinic matters more than it sounds.
Section 5: During Your Stay
Good documentation during the trip protects your warranty and gives you everything you need if issues arise at home.
28. Photograph your teeth before treatment begins
Take clear, well-lit photos of your teeth from multiple angles before any procedure starts. This is for your records — not for posting. If there’s ever a dispute about what condition your teeth were in pre-treatment, you want documentation. Your phone’s portrait mode in natural light is sufficient.
29. Keep all documentation and paperwork
Request copies of everything: your treatment plan, consent forms, X-rays taken at the clinic, material specifications for your veneers, and the receipt. Ask for these in digital form (email or WhatsApp) so they don’t get damaged or lost. This documentation is your evidence trail if you ever need to make a warranty claim or consult a local dentist about the work done.
30. Ask for your shade records in writing
The shade (color code) used for your veneers should be documented. This matters if you ever need a replacement veneer — the lab at home needs the exact shade code to match your existing restorations. Most clinics record this automatically, but ask for a copy for your records.
31. Save the clinic’s WhatsApp contact for aftercare
Reputable Colombian dental clinics communicate via WhatsApp — it’s the standard messaging platform in Colombia. Before you leave the clinic after your final appointment, confirm you have the direct WhatsApp number for aftercare questions. If something feels off in the first weeks after your return, you want to be able to reach your dentist directly, not just a generic info address.
32. Do not fly home the same day as final placement
This is a firm recommendation from most experienced dental patients and clinicians. Flying immediately after final placement increases pressure-related sensitivity, dehydrates you, and puts you on a plane if something needs adjustment. Stay at least one night after your final appointment. If anything needs a small tweak, you want to be available for a quick follow-up, not at 35,000 feet.
Section 6: After You Return Home
The work continues after you land. These steps protect your investment long-term.
33. Schedule a check-up with your local dentist 4–6 weeks after returning
Have your local dentist examine the veneers once they’ve settled. They can check the margins (where veneer meets tooth), assess your bite, and flag anything that should be addressed. This isn’t a reflection of the Colombian clinic’s work — it’s standard aftercare practice and a good baseline for your local dental records.
34. Show your local dentist all documentation
Bring the treatment records, X-rays, shade records, and material specifications to this appointment. Your local dentist needs to know exactly what was done in order to provide good ongoing care. A dentist who sees a patient’s veneers without any context is working blind.
35. Report any issues to the Colombian clinic within the warranty window
If a veneer chips, the color seems off, or something doesn’t feel right, contact the clinic in Colombia as soon as possible — ideally within the first few weeks. Document issues with photographs and timestamps. Most reputable clinics will work with you to resolve problems remotely where possible, or arrange a return visit for more significant issues. Waiting to report a problem risks voiding the warranty.
36. Leave an honest, detailed review to help other dental tourists
The dental tourism community depends on real reviews from real patients. A generic five-star review is less helpful than a specific account of your experience: how the consultation process worked, how the dentist communicated, what the treatment felt like, how the results look six weeks later, and how the clinic handled any concerns. Post to Google, the relevant Facebook groups, and r/DentalTourism. Your experience will be someone else’s due diligence.
One Final Thought
This checklist exists because dental tourism, done well, is genuinely transformative — not just for your smile, but for the confidence that comes with it. The patients who have the best experiences are almost always the ones who did the preparation work. The ones who rush the booking, skip the documentation, or assume everything will sort itself out on arrival are the ones who end up in the Facebook groups asking what went wrong. Use this list. Take your time. Arrive prepared.