A root canal is a dental procedure used to save a severely decayed or infected tooth. When a cavity reaches the tooth’s nerve, a regular filling is no longer enough. In this case, a root canal is necessary to remove the infected tissue, clean the area, and protect the tooth from further damage.
When Do You Need a Root Canal?
You need a root canal when decay goes beyond the enamel and dentin into the tooth’s nerve. The goal is to remove the infection and save the natural tooth structure.
Step 1: Isolating the Tooth
The dentist starts by placing a rubber dam around the tooth to keep the area clean and dry. A sealing material may also be applied to block bacteria from entering.
Step 2: Removing Decay
Using dental tools, the dentist removes all decayed material from the tooth, just like in a standard filling procedure.
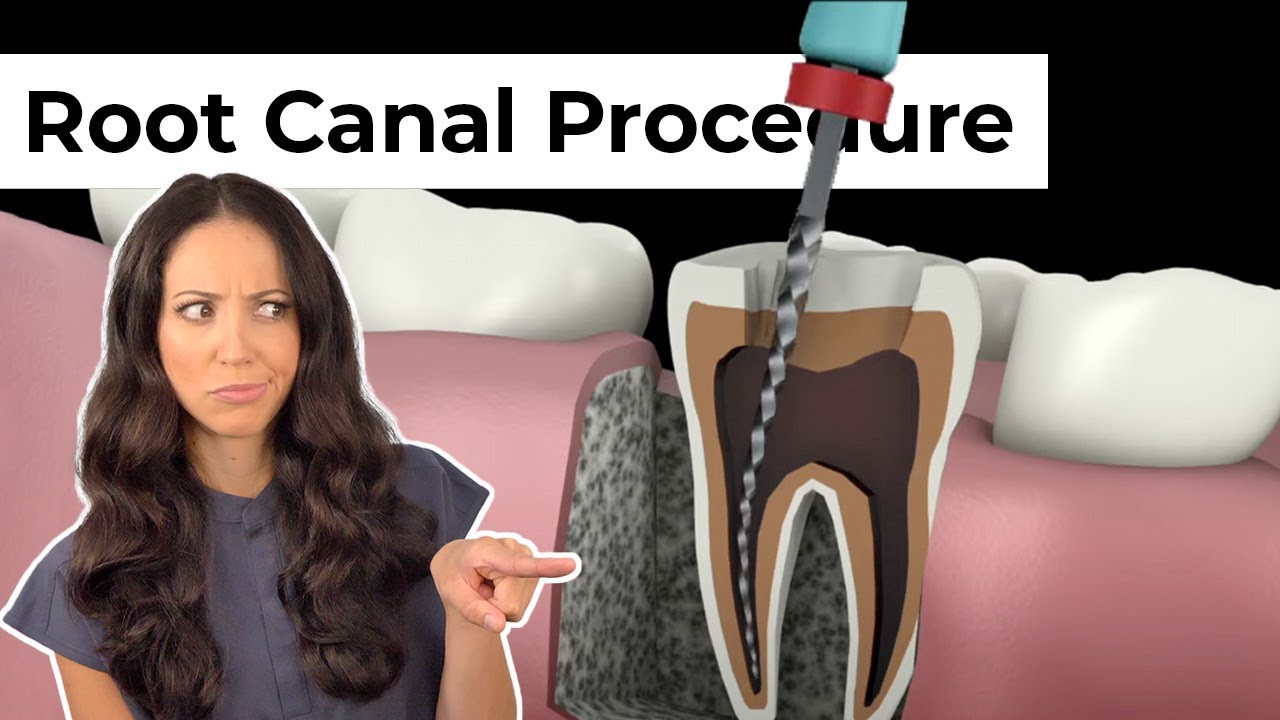
Step 3: Cleaning the Root Canals
- The dentist checks the nerve area with an explorer.
- Special files and RC Prep are used to clean and shape the canals.
- Both hand and rotary files help reach the root tip (apex).
- A device called an apex locator assists in finding the correct depth.
- The area is flushed with a disinfectant (sodium hypochlorite).
- Ultrasonic tools may improve access and prevent file blockage.
- EDTA is used to open blocked canal pores.
- Cleaning and agitation alternate until the canals are clear.
Step 4: Confirming Canal Depth
Dental X-rays are taken to confirm the proper depth and shape of the root canals.
Step 5: Drying the Canals
Paper points are inserted into the canals to dry them completely before sealing.
Step 6: Filling and Sealing
- The canals are filled with gutta-percha, a rubber-like material.
- A sealer is applied to the gutta-percha.
- A condenser packs the material tightly.
- A backfill technique ensures full coverage.
Step 7: Final Restoration
After sealing, the dentist removes the rubber dam and takes a final X-ray to verify success. Depending on the case, you may need one or two appointments. A permanent filling or crown is placed later to protect the tooth, although a temporary filling is used until then.