Why Veneer Color Is the Most Important Decision You Will Make
Choosing the right veneer color is arguably the single most consequential decision in a smile makeover — more important than material, more important than the number of veneers, and even more important than the dentist’s technique. A perfect preparation with flawless bonding can still produce a result you hate if the shade is wrong.
The same veneers cost up to 70% less in Colombia.
See if you qualify Free video call in English · on WhatsAppIndividual patient experience. Results and pricing are confirmed after a clinical evaluation.
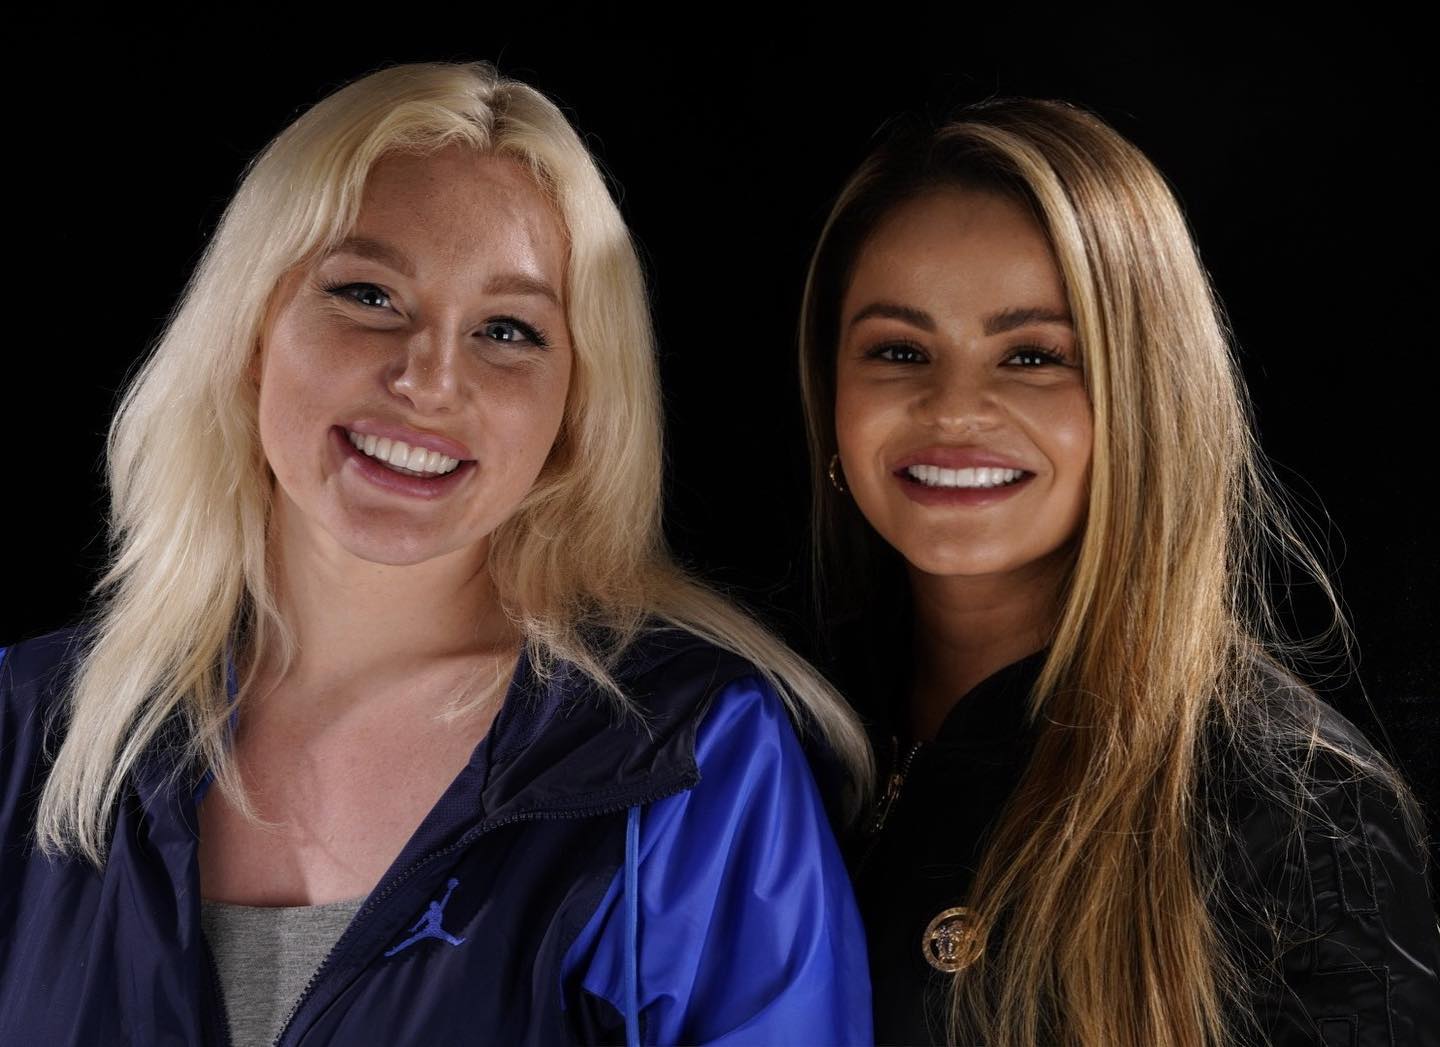
Most patients walk into their first consultation and say: “Give me the whitest teeth possible.” It is an understandable impulse. But the most experienced cosmetic dentists consistently advise against it. The goal is not maximum whiteness — it is natural harmony with your face, skin tone, age, and personality.
This guide walks you through every factor that determines the ideal veneer shade, the tools dentists use to select it, the most common mistakes to avoid, and exactly how to work with your dentist to make a confident, informed decision before a single veneer is permanently bonded.
Understanding the VITA Shade Guide: The Global Standard
Every cosmetic dentist works from a shade guide — a physical or digital set of color samples used to compare and communicate tooth color with laboratory technicians. The most universally used system worldwide is the VITA Classical A1–D4 Shade Guide, developed by VITA Zahnfabrik.
The Four Shade Families
The VITA Classical guide organizes tooth shades into four hue families:
| Shade Family | Color Tone | General Appearance |
|---|---|---|
| A (Reddish-brown) | Warm | The most common natural tooth color — slightly warm and golden |
| B (Reddish-yellow) | Warm/Gold | Slightly more yellow than A; warm and sun-kissed |
| C (Grey) | Cool | Found in older or more translucent teeth; cooler undertones |
| D (Reddish-grey) | Neutral-cool | Rare; reddish with grey undertones |
Within each family, shades are numbered from lightest to darkest: for example, A1 is lighter than A3 or A4.
Get your veneers in Colombia for up to 70% less.
In the US, 20 porcelain veneers run $30,000–$50,000. With Dr. Yazmin in Medellin, it's $6,900, all-inclusive.
Individual patient experience. Prices, inclusions and results are confirmed after a clinical evaluation. A full evaluation is required before any treatment.
The Bleach Range (BL Shades)
Above A1 — the lightest shade in the classical range — sits the VITA Bleach range, designed for cosmetically whitened or ultra-bright restorations:
| Shade | Brightness Level | Best For |
|---|---|---|
| BL1 | Ultra-white | Extreme whitening requests; photo and media work |
| BL2 | Very bright | Lighter skin tones seeking a noticeable cosmetic change |
| BL3 | Bright Hollywood | Dark skin tones or medium complexions wanting a radiant result |
| BL4 | Natural bright | A transitional shade between classical A1 and the bleach range |
Important clinical note: Bleach shades look brilliant in controlled studio lighting but can appear grey or chalky in low-light environments like restaurants, evening social settings, or candlelit rooms. This is a critical consideration often overlooked in before-and-after photos posted online, which are almost always taken under professional lighting.
The Most Commonly Chosen Shades
Based on clinical preference and patient satisfaction data, the most frequently selected veneer shades are:
The clinical rule most dentists follow: veneers should never appear whiter than the whites of your eyes (sclera). Teeth that exceed this reference look unnatural in every lighting condition.
The 3 Scientific Dimensions of Tooth Color
Before selecting a shade number, it helps to understand the three properties that define how any color appears to the human eye:
1. Value (Brightness)
Value is the lightness or darkness of a color — essentially, how bright the tooth appears. It is the most important of the three dimensions because the human eye detects differences in brightness before it detects differences in color. When dentists compare shade samples to natural teeth, they evaluate value first.
A high-value tooth looks bright and luminous. A low-value tooth looks dull or dark. Most people seeking veneers want to increase value — but the ideal increase depends on all the factors discussed below.
2. Chroma (Saturation)
Chroma refers to the intensity or richness of a color. A highly chromatic tooth looks deeply saturated — more yellow, more orange, more grey. A low-chroma tooth looks washed out or flat. Natural teeth have moderate chroma; very bright veneers often have very low chroma, which is why they can look fake — they lack the depth and saturation of real enamel.
3. Hue (Color Temperature)
Hue is the basic color identity — whether the tooth leans warm (yellow, orange, golden) or cool (blue, grey). Hue interacts with skin undertones more than any other dimension. Getting the hue wrong — for example, choosing a cool-toned shade for a patient with warm skin — is one of the most common causes of veneers that look “off” despite being technically well-made.
The correct order for shade evaluation is: value first, then chroma, then hue. Dentists who evaluate in the wrong order often end up with technically matching shades that still don’t look natural.
Key Factor 1: Your Skin Tone
Your skin tone is the most important external factor in veneer shade selection. The contrast between teeth color and facial complexion determines whether a smile looks natural and harmonious — or jarring and artificial.
Fair / Light Skin Tones
People with fair skin tend to have cool or neutral undertones. Ultra-white (BL1–BL2) veneers can work on very fair complexions, though even here, going too bright can make the teeth dominate the face. The most flattering choices are typically B1 (cool, natural white) or shades that retain a hint of warmth.
Cool undertones in fair skin look particularly good with shades that have a subtle blue-white tone, as this creates harmony rather than contrast.
Medium / Olive / Tanned Skin Tones
Medium complexions — including olive, Mediterranean, South Asian, and Hispanic/Latino skin tones — tend to have warm undertones. The A-family shades (A1, A2) are generally the most flattering for this group. Warm, slightly ivory whites create a luminous harmony rather than a stark contrast.
For patients with olive skin wanting a brighter result, BL3 — a warm bright white — often produces a more natural Hollywood effect than BL1 or BL2, which can appear too blue-toned against warm complexions.
Dark / Deep Skin Tones
Contrary to a common misconception, patients with darker skin tones can often wear brighter shades with excellent results — but the undertone of the shade matters enormously. Very cool, opaque whites can look stark and unnatural. Shades like BL3, B1, or A1 — which retain warmth and translucency — often produce the most stunning results.
The key insight: brightness can go higher with darker skin tones because the contrast creates natural visibility, but the warmth and translucency of the shade must be preserved.
The Warm vs. Cool Undertone Rule
| Skin Undertone | Avoid | Best Choices |
|---|---|---|
| Cool (fair, Nordic) | Very yellow or opaque ivory | B1, cool BL2 |
| Warm (olive, tanned) | Very blue-white BL1 shades | A1, A2, BL3 |
| Dark (deep complexion) | Very opaque, dull whites | B1, BL3, warm BL4 |
Key Factor 2: Your Natural Tooth Color and Adjacent Teeth
If you are only getting veneers on a partial set of teeth — for example, 4–6 upper front teeth — the new veneers must blend seamlessly with your remaining natural teeth. A stark visible line between treated and untreated teeth is one of the most common and easily avoidable veneer regrets.
The accepted clinical guideline is that veneers should be within 1–2 shades brighter than your natural teeth. Going further creates a visible boundary between treated and untreated areas.
Critical planning step: whiten first. If you plan to whiten your natural teeth at any point, do it before your veneer placement — not after. Whitening treatments (peroxide-based bleaching) do not affect ceramic veneers. If you whiten after bonding, your natural teeth become brighter than your veneers, and the mismatch becomes permanent until replacement.
For patients getting 8–20 veneers covering the entire visible smile zone, shade matching with adjacent natural teeth matters less — you have a wider range of color options because the full smile will be uniform.
Key Factor 3: Your Age
Age affects veneer shade selection in two clinically important ways:
- Natural aging of enamel: As we age, tooth enamel thins and dentine — the darker inner layer of the tooth — shows through more prominently. Natural teeth tend to darken, yellow slightly, and lose translucency over the decades. Extremely bright veneers on a 55-year-old face can create a mismatch: the teeth look younger than the surrounding features, which draws attention to the age difference rather than the smile.
- Aesthetic harmony: Younger patients (20s–30s) typically look natural with brighter, higher-value shades. Mature patients (50+) often achieve more elegant, believable results with softer shades in the A1–B1 range that complement slightly aged gum tissue, lips, and facial skin.
This does not mean older patients cannot choose bright veneers — it means the conversation with a dentist about age-appropriate harmony is especially important for patients over 45.
Key Factor 4: Your Gender
Gender influences shade preference in statistically consistent ways, though individual choice always takes precedence:
- Women tend to prefer lighter, brighter shades — particularly in the B and BL range — that create a clean, luminous effect
- Men often prefer slightly darker, more natural shades in the A range that complement stronger facial features without looking too polished
These are general tendencies observed in clinical practice, not rules. The most important factor is always personal preference combined with professional guidance.
Key Factor 5: Your Eye Color
The whiteness of your eye sclera (the white part of your eyes) serves as one of the most reliable natural reference points for veneer shade selection.
The rule: your veneer shade should never appear whiter than your eye sclera. When teeth are brighter than the eyes, the smile looks artificial and draws disproportionate attention. When teeth are the same brightness or slightly less bright than the sclera, the overall facial picture looks harmonious.
This is a practical chairside test your dentist can perform: holding the shade guide near your eyes in natural light immediately reveals which shades fall above or below your natural sclera reference point.
Key Factor 6: Lighting Conditions
One of the most overlooked factors in veneer shade selection is how different lighting environments affect color perception. A shade that looks brilliant in a dental office under fluorescent lights may appear completely different in daylight, at home, or in a restaurant.
The Science of Light and Color Perception
Natural daylight at midday — containing equal amounts of all light wavelengths — is considered the gold standard for shade evaluation. Morning and evening light has more red and yellow wavelengths, which warms tooth color. Fluorescent and incandescent office lighting shifts color perception in ways that can make certain shades look more yellow, more grey, or more blue than they truly are.
Practical Guidelines for Shade Evaluation in Lighting
Your dentist should evaluate shade options under multiple lighting conditions, ideally including:
- Natural daylight — the primary evaluation environment; reveals true color most accurately
- Fluorescent office lighting — how your smile will appear at work
- Incandescent/warm indoor lighting — how your smile will look at home or in restaurants
One critical warning: Bleach shades (BL1–BL3) can look grey or chalky under artificial light and dramatically different in photos versus real life. Patients should always view shade samples in natural light before giving final approval — never rely exclusively on studio-lit before-and-after photos.
Clinical note from research: Shade selection should ideally be performed in the morning, when eye fatigue is minimal. The operator should stand at 2–6 feet from the patient’s mouth, at eye level, with light focused on the teeth.
Key Factor 7: The Number of Veneers
How many veneers you are receiving directly determines how much freedom you have in shade choice:
- 2–4 veneers: Shade must match existing teeth closely. Very limited flexibility — blending is the primary objective
- 6–8 veneers (full upper arch): Moderate flexibility. The smile zone is fully treated, but transition to untreated back teeth must be considered
- 10–20 veneers (full smile makeover): Maximum flexibility. The entire visible smile is uniform ceramic, freeing you to choose any shade from A1 to BL1 based purely on aesthetic goals and facial harmony
Key Factor 8: Translucency and Material Type
The material of your veneer affects how light passes through it — and this directly impacts how natural the shade appears:
Emax (lithium disilicate)
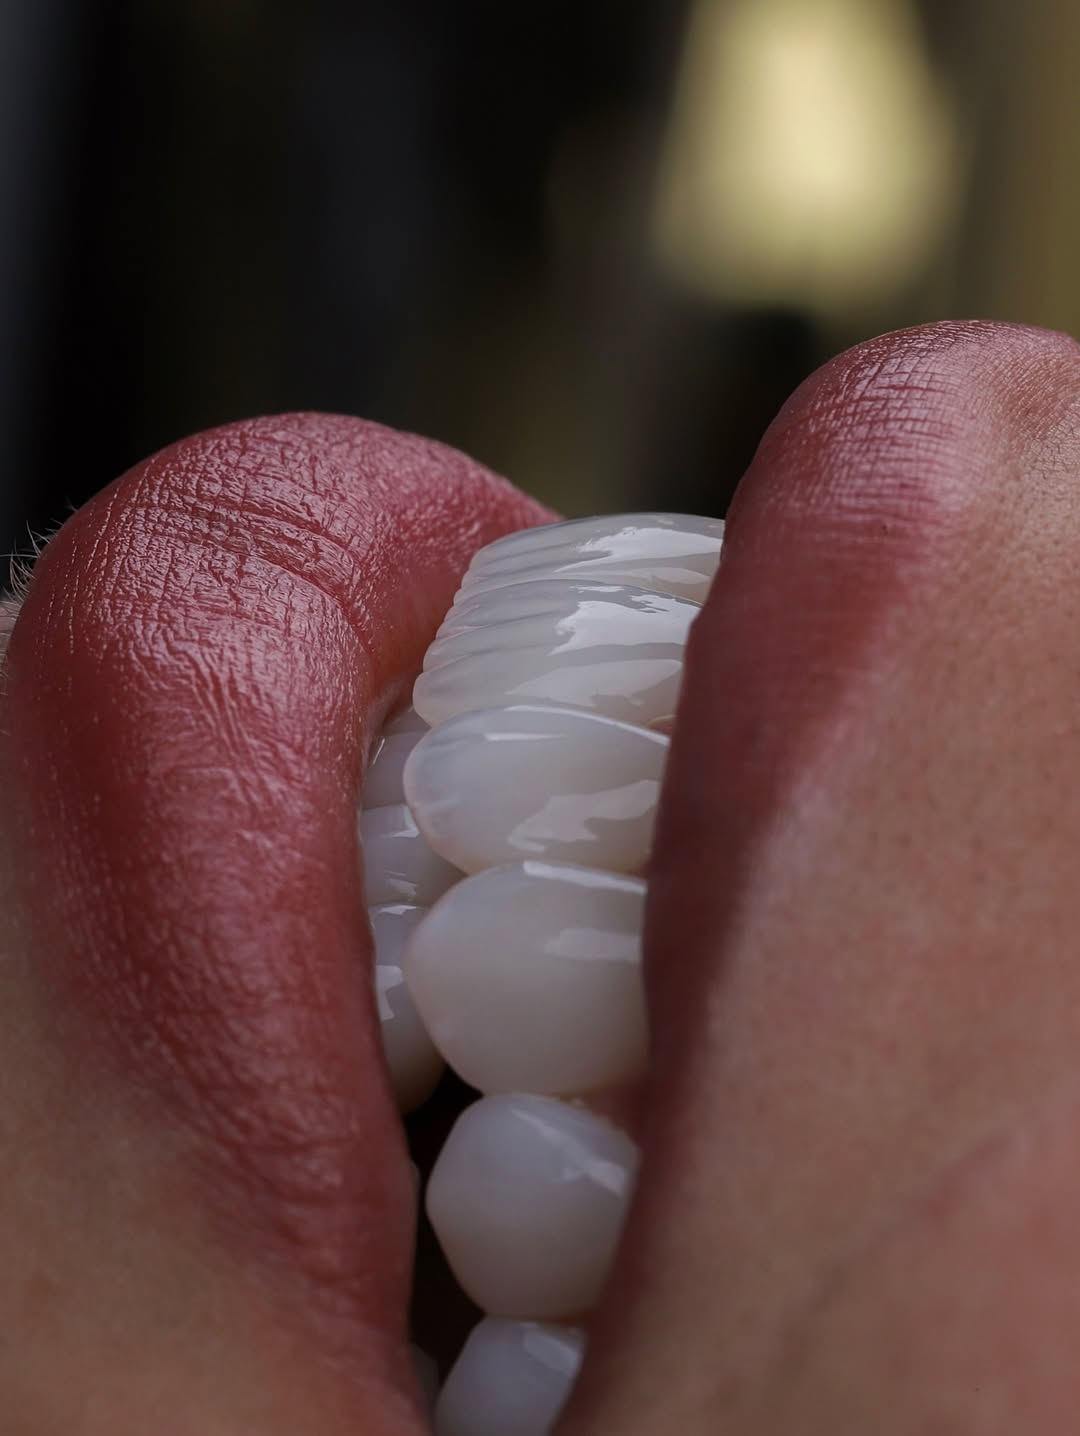
Highly translucent. Light passes through the veneer and bounces off the underlying tooth structure, creating a three-dimensional, living appearance. The underlying tooth color slightly influences the final shade, which means very dark underlying teeth may need additional treatment or a slightly more opaque version of the chosen shade.
Zirconia & Composite
Zirconia: Less translucent. More opaque by nature. Better for severely discolored underlying teeth because it blocks more of the underlying color from showing through. Shades look more uniform and “solid”.
Composite resin: Limited shade options compared to ceramic. More prone to staining over time, which means the shade can shift after placement in ways that ceramic cannot.
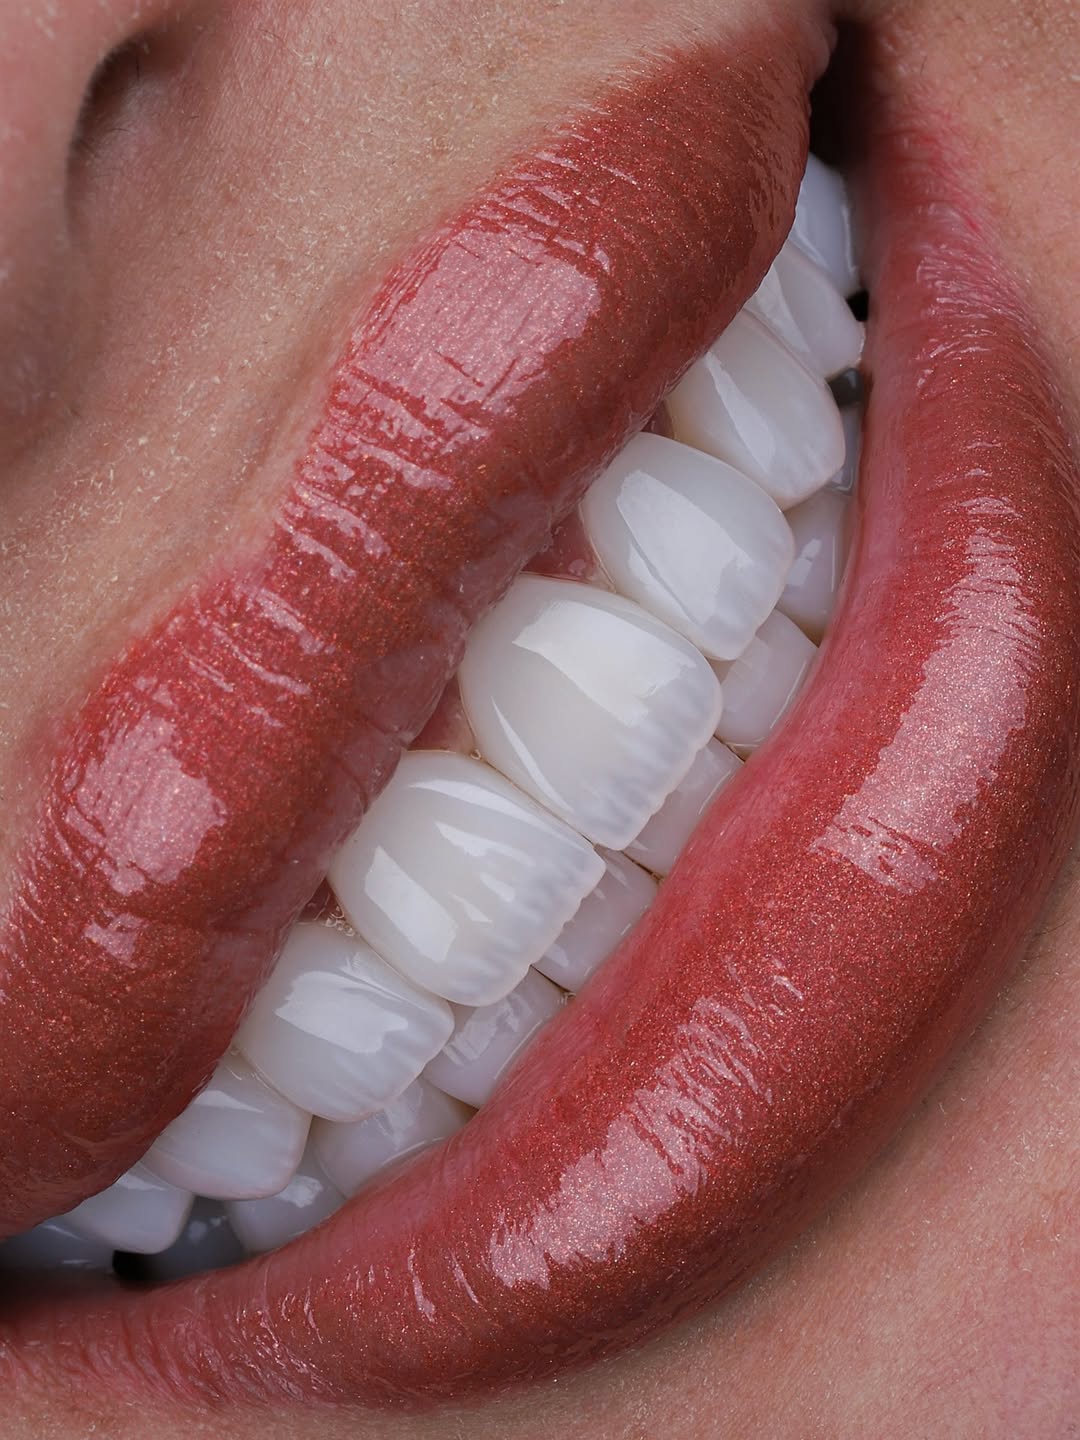
For the most natural color result, Emax remains the preferred material — specifically because its translucency allows the shade to interact dynamically with light and the underlying tooth structure, mimicking real enamel.
Natural vs. Hollywood White: Which Is Right for You?
The biggest aesthetic decision in veneer shade selection is where you want to land on the natural-to-bright spectrum. Understanding the trade-offs helps you choose with confidence.
Natural Look (A1 – B1 Range)
Natural shades deliver teeth that are noticeably bright and beautiful but do not announce themselves as cosmetic work. Nobody will know you have veneers unless you tell them.
Best for:
- Patients over 40
- People with darker or olive skin tones
- Anyone who wants subtle, lasting improvement
- Patients who prioritize long-term realism over dramatic short-term impact
- Professional contexts where ultra-white teeth may look incongruous
Hollywood White (BL1 – BL3 Range)
Hollywood shades deliver the ultra-bright, uniform smile associated with TV presenters, celebrities, and influencers. The result is dramatic and makes a powerful visual statement.
Best for:
- Younger patients in their 20s–30s
- Those in media, entertainment, or on-camera professions
- Patients pursuing a full smile transformation with a clear cosmetic intent
- Anyone who has specifically decided they want noticeable, visible whiteness
Caution: Extremely bright shades can look monochromatic and flat because they eliminate the subtle color gradations that give natural teeth their depth. An experienced lab technician can partially restore this through custom staining — adding subtle surface color variations that create the illusion of natural gradation even within a bright shade.
The Role of Technology: Digital Smile Design
Modern cosmetic dentistry increasingly uses Digital Smile Design (DSD) software to visualize shade options before any preparation begins. Using detailed photographs and 3D imaging of your face and teeth, the software renders a realistic preview of how different shades will look against your actual skin tone, gum tissue, and facial structure.
The advantage over traditional shade guides is precision: rather than holding a physical ceramic tab next to your teeth and imagining the result, you can see a full-color digital simulation on a screen. Many dental practices also create temporary veneers in the chosen shade — worn for 1–2 weeks — so patients can evaluate the color in real-world lighting before permanent bonding.
The try-in step is non-negotiable. Because porcelain veneers are thin and translucent, the color of your underlying tooth and the resin cement affects the final result. A shade that looks perfect on a ceramic model can look slightly different once bonded. Never skip the try-in appointment.
The 7 Most Common Veneer Color Mistakes (And How to Avoid Them)
Mistake 1: Going as White as Possible
The most universal mistake. Ultra-bright shades clash with many skin tones, highlight facial asymmetries, and look artificial in soft or natural light. Always aim for harmony, not maximum whiteness.
Mistake 2: Choosing Based on Celebrity or Social Media Smiles
Celebrities and influencers are professionally lit, photographed with image enhancement, and often have skin tones and facial features very different from yours. A shade that looks extraordinary on a specific celebrity may look completely wrong on you. Bring reference photos for style inspiration, not shade duplication.
Mistake 3: Evaluating Shades Under Artificial Light Only
Dental office lighting distorts color perception. Always request to evaluate your shade samples in natural daylight — near a window if possible — before approving your final choice.
Mistake 4: Skipping Teeth Whitening If You Plan to Do It Later
If you want whiter natural teeth, do it before veneer shade selection. Post-bonding whitening cannot change the shade of your veneers, and you will be stuck with a mismatch until replacement.
Mistake 5: Ignoring the Transition to Untreated Teeth
If you are only treating 4–6 teeth, make sure the shade transitions naturally to your untreated molars and premolars. A sharp visual line at the edge of your veneer coverage is immediately noticeable.
Mistake 6: Choosing Shade Based on Photos Alone
Online before-and-after photos are almost always taken under optimized professional lighting with color-corrected cameras. The same shade can look dramatically different in your day-to-day environments.
Mistake 7: Not Communicating Your Concerns to Your Dentist
Your personal preferences are the most important factor in the shade decision. A skilled cosmetic dentist will guide you technically, but your satisfaction is the ultimate goal. Speak up if you have doubts at the try-in stage — it is far easier to adjust before permanent bonding than after.
The Veneer Shade Selection Process: What to Expect at Your Appointment
A well-run shade selection appointment follows a structured clinical process:
- Remove lipstick and bright jewelry — these distort color perception and must be removed before evaluation
- Assess in natural light first — the dentist moves you near a window or uses a calibrated daylight lamp
- Apply the VITA shade guide — comparing multiple shades against your natural teeth and facial features
- Evaluate value first (brightness), then chroma (saturation), then hue (warm/cool)
- The squint test — dentists often squint during evaluation to reduce light entry to the eye, which makes it easier to compare two similar shades
- Digital photography — photographs of the trial shades next to your teeth are taken for lab communication
- Digital imaging (if available) — DSD software renders a preview of the chosen shade on your actual face
- Temporary veneers — you wear provisional restorations in the chosen shade for up to 2 weeks to evaluate real-world appearance
- Final approval before permanent bonding — after the try-in, you and your dentist confirm shade before irreversible cement is applied
Quick Reference: Veneer Shade by Skin Tone and Smile Goal
| Patient Profile | Recommended Shade Range | Notes |
|---|---|---|
| Fair skin, subtle enhancement | A1, B1 | Maintains natural appearance; nobody will know |
| Fair skin, dramatic change | BL2, BL3 | Still within believable range for lighter complexions |
| Medium/olive skin, natural look | A1, A2, BL4 | Warm undertones; blends with Mediterranean or Hispanic features |
| Medium/olive skin, Hollywood | BL3 | Warmer BL shades work better than blue-toned BL1 |
| Dark skin, natural look | A1, B1 | Choose warm or slightly ivory shades; avoid very opaque whites |
| Dark skin, bright smile | BL3, B1 | Higher contrast works; warmth and translucency are key |
| Mature patient (50+) | A1, A2, B1 | Softer shades age more gracefully; avoid extreme bleach range |
| Young patient (20s–30s) | B1, BL2, BL3 | Brighter shades appropriate; individual preference guides final choice |
Expert Tips for a Shade You Will Love for 15+ Years
- Think long-term, not just for today. The most timeless veneer shades are natural ones. A-family shades and B1 have passed the test of time. Extreme bleach shades trend heavily in certain eras and can look dated as fashion evolves.
- Embrace natural color variation. Real teeth are not a uniform block of white. Slightly lighter canines, subtle gradations from tooth center to edge — these micro-variations are what give a smile life. A skilled ceramist can add these to even the brightest shades.
- Consider your lifestyle. If you drink coffee, wine, or smoke, remember that natural teeth around your veneers will stain over time — widening the color gap. Getting more veneers may be worth it for long-term uniformity.
- Always do a trial run. Temporary veneers in your chosen shade are the single best tool for making a confident decision. Wear them for at least one week and observe them in every environment you frequent.
- Trust the process — and your dentist. Shade selection is a clinical skill developed over years of training and thousands of cases. Bring reference photos, share your concerns, ask questions — but ultimately, collaborate with your dentist rather than overriding their recommendation based on a single trend photo.